

After thinking a lot about what to write next, I stumbled upon a very cool idea.
And this is what I thought I should do: Discover something interesting using code ?
Let’s find out what’s the most popular drink among tea, coffee and beer in the world? All using code!!!
Yes, you heard it right.
How do we do this?
First and foremost, we need data!! And by data, I mean real time data because trends may change day to day. Social media is full of data, and we should thank Twitter for writing a Java HTTP client for streaming real-time Tweets using Twitter’s own Streaming API.
This client is known as Hosebird Client (hbc). Though it was written by Twitter a long time back and Twitter has deprecated some of its features but it will perfectly work for our requirement.
Also, we need to store the streaming data into some data-store and for this purpose we’ll be using Elasticsearch.
Why Elasticsearch?
The sole purpose of using Elasticsearch is to use Kibana’s Canvas to further visualise the data.
Canvas is a whole new way of making data look amazing. Canvas combines data with colours, shapes, text, and your own imagination to bring dynamic, multi-page, pixel-perfect, data displays to screens large and small.
Elastic
In simple words it is an application which lets you visualise data stored in Elasticsearch in a better and customised way in real time (while data is being ingested in Elasticsearch) and is currently in beta release.
You’ll be thrilled to see the end result using Elasticsearch Canvas.
Note: For the demonstration Elasticsearch & Kibana 6.5.2 are used.
Prerequisites:
- Make sure Elasticsearch and Kibana are installed.
Let’s get started. Cheers to the beginning ?
Follow the steps below to implement the above concept:
1) Setting up a maven project:
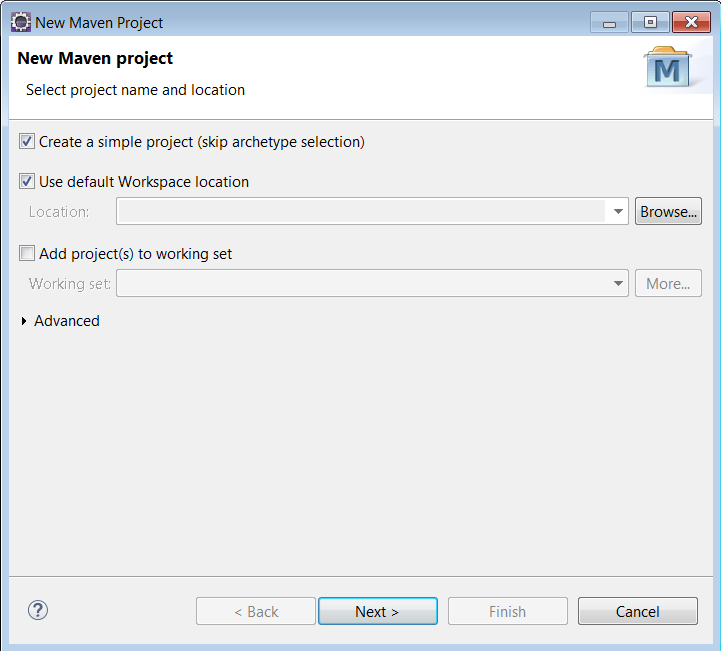
1.1) Create a Maven Project (for the demonstration I am using Eclipse IDE, you can use any IDE):


1.2) Skip the archetype selection:

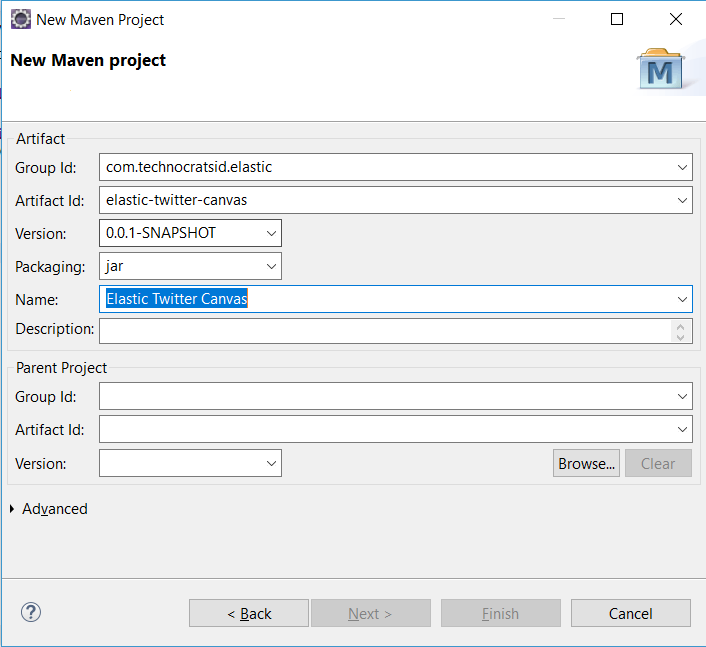
1.3) Add the Group Id, Artifact Id and Name, then click Finish:

2) Configuring the maven project:
2.1) Open the pom.xml and add the following dependencies:
<dependencies>
	<dependency>
		<groupId>com.twitter</groupId>
		<artifactId>hbc-core</artifactId>
		<version>2.2.0</version>
	</dependency>
	<dependency>
		<groupId>org.elasticsearch.client</groupId>
		<artifactId>transport</artifactId>
		<version>6.5.2</version>
	</dependency>
</dependencies>
These are the Java client libraries of Twitter and Elasticsearch.
2.2) Configuring the maven-compiler-plugin to use Java 8:
<project>
  [...]
  <build>
    [...]
    <plugins>
      <plugin>
        <groupId>org.apache.maven.plugins</groupId>
        <artifactId>maven-compiler-plugin</artifactId>
        <version>3.8.0</version>
        <configuration>
          <source>1.8</source>
          <target>1.8</target>
        </configuration>
      </plugin>
    </plugins>
    [...]
  </build>
  [...]
</project>
2.3) After this update the maven project:

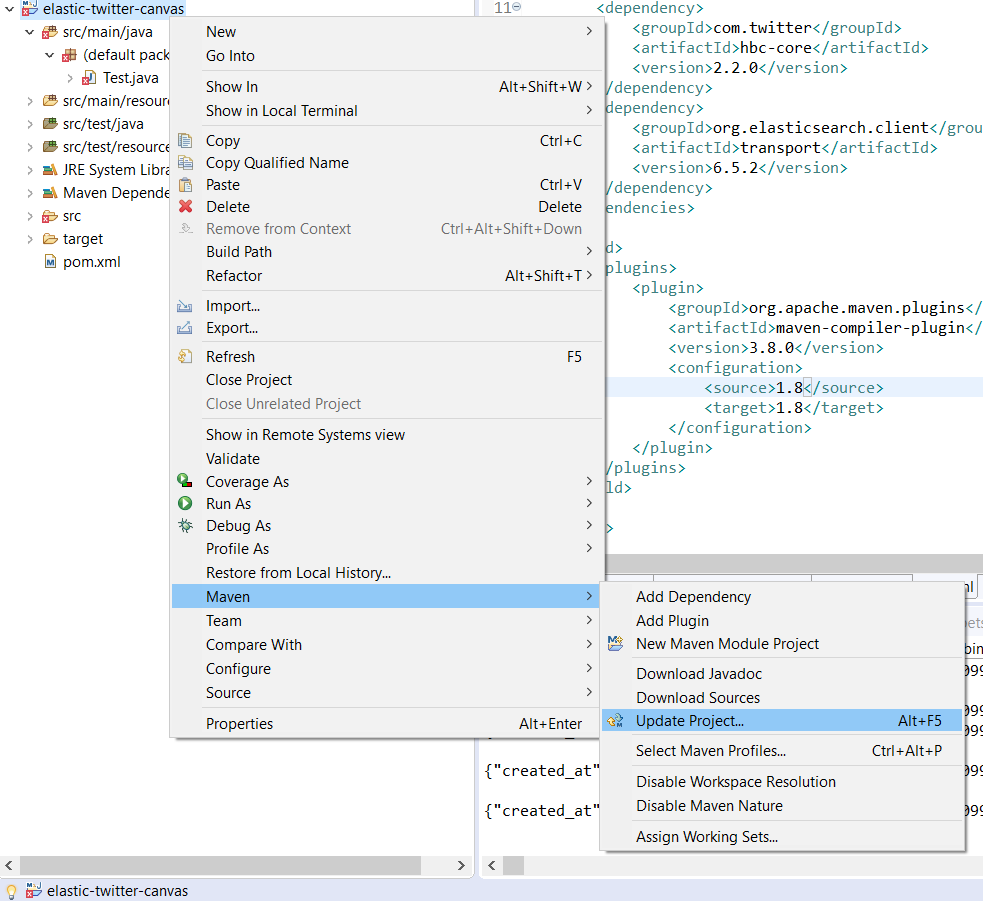
Alternately you can also press Alt+F5 after selecting the project.
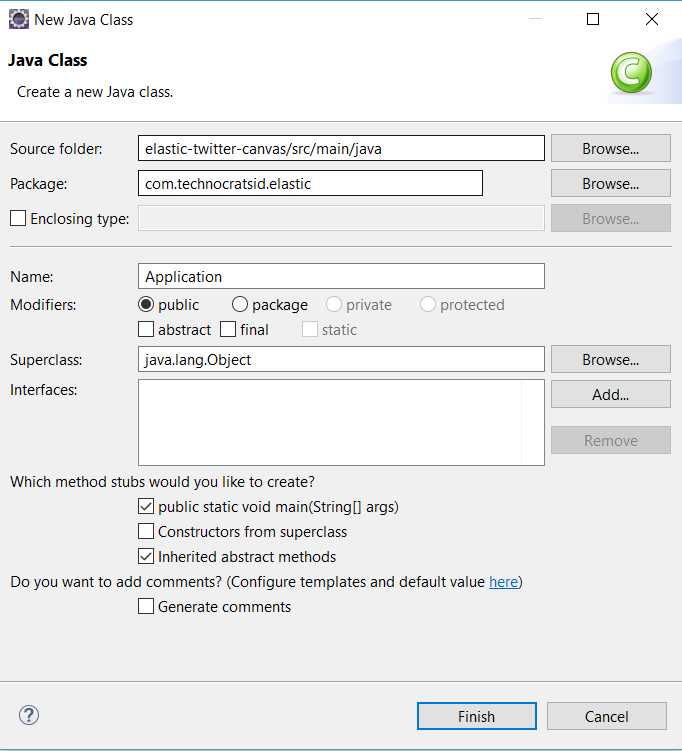
3) Create an Application class:
3.1) Go to src/main/java and create a new class:

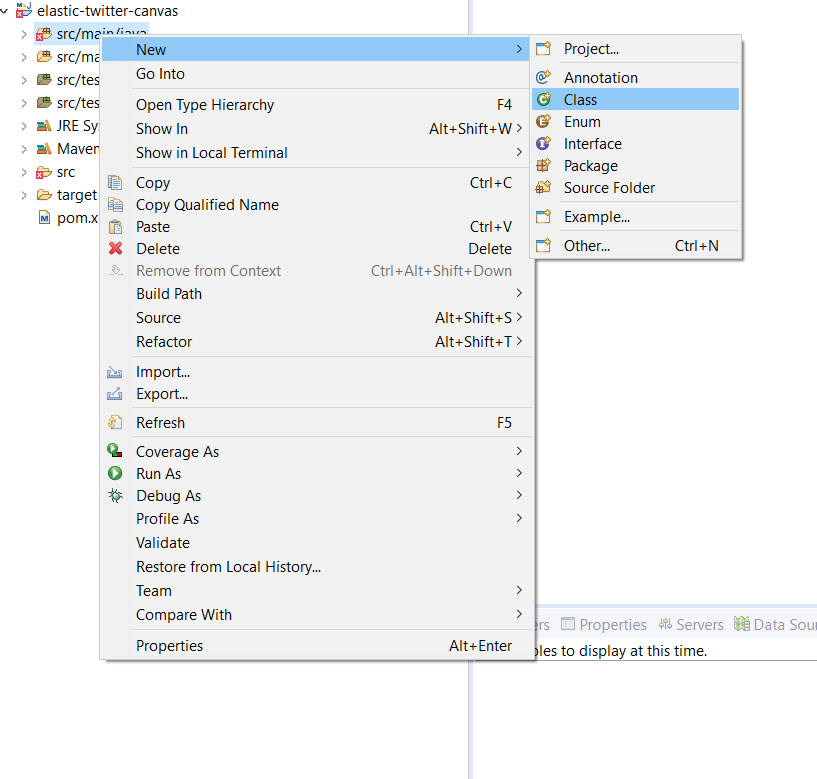
3.2) Add the Package and Name of the class then click Finish:

4) Configure the Twitter Java Client:
4.1) Create a static method createTwitterClient in Application class and add the following lines of code:
public static Client createTwitterClient(BlockingQueue<String> msgQueue, List<String> terms) {
	Hosts hosebirdHosts = new HttpHosts(Constants.STREAM_HOST);
	StatusesFilterEndpoint hosebirdEndpoint = new StatusesFilterEndpoint();
	hosebirdEndpoint.trackTerms(terms); // tweets with the specified terms
	Authentication hosebirdAuth = new OAuth1(consumerKey, consumerSecret, token, secret);
	ClientBuilder builder = new ClientBuilder().name("Twitter-Elastic-Client").hosts(hosebirdHosts)
				.authentication(hosebirdAuth).endpoint(hosebirdEndpoint)
				.processor(new StringDelimitedProcessor(msgQueue));
	Client hosebirdClient = builder.build();
	return hosebirdClient;
}
Notice, that this method expects two arguments: one is the BlockingQueue which is used as a message queue for the tweets and another is the List of terms we want our tweets to be filtered with (in our case “tea”, “coffee” & “beer”). So we are configuring our client to return real time filtered tweets (tweets with terms “tea”, “coffee” or “beer”).
Notice the line of code shown below:
Authentication hosebirdAuth = new OAuth1(consumerKey, consumerSecret, token, secret);
Twitter Java Client uses OAuth to provide authorised access to the Streaming API, which requires you to have the consumer/access keys and tokens.
So to stream Twitter data you must have the consumer/access keys and tokens.
4.2) Getting Twitter Consumer API/Access token keys:
Follow the link Getting Twitter Consumer API/Access token keys to obtain the keys and tokens.
After getting the Consumer API key, Consumer API secret key, Access token and Access token secret,add them as Strings in the Application class:
private final static String consumerKey = "xxxxxxxxxxxxxxxxxx";
private final static String consumerSecret = "xxxxxxxxxxxxxxxxxx";
private final static String token = "xxxxxxxxxxxxxxxxxx";
private final static String secret = "xxxxxxxxxxxxxxxxxx";
It is not advisable to put this info in the program itself and should be read from a config file but for brevity I am putting these values in Application class as static final Strings.
5) Configure the Elasticsearch Transport Client:
5.1) Create a static method createElasticTransportClient in Application class and add the following lines of code:
public static TransportClient createElasticTransportClient() throws UnknownHostException {
	TransportClient client = new PreBuiltTransportClient(Settings.EMPTY)
			.addTransportAddress(new TransportAddress(InetAddress.getByName("localhost"), 9300));
	return client;
}
The above method returns a Transport Client which talks to locally running Elasticsearch on port 9300.
If your Elasticsearch is running on some other port or host then you may need to change the values of “localhost” to your “host” and “9300” to your “port”, if your Elasticsearch cluster name is different that “elasticsearch”, then you need to create the client like this:
TransportClient client = new PreBuiltTransportClient(Settings.builder().put("cluster.name", "myClusterName").build())
				.addTransportAddress(new TransportAddress(InetAddress.getByName("localhost"), 9300));
6) Streaming data from twitter:
Once the client establishes a connection:
// establish a connection
client.connect();
The blocking queue will now start being filled with messages. However we would like to read only first 1000 messages from the queue:
int count = 0;
while (!client.isDone() && count != 1000) {
  String msg = msgQueue.take(); // reading a tweet
  // Segregating the tweet and writing result to elasticsearch
  count++;
}
7) Segregating tweets based on terms and then indexing the segregated result to Elasticsearch:
For brevity I am streaming first 1000 tweets (containing terms “tea”, “coffee” & “beer”), segregating them one by one and indexing the results in Elasticsearch.
Example: Let’s say if a tweet contains the term “ tea ” then I will index the following document into Elasticsearch:
{ “tweet” : “tea” }One thing I would like to clear: Let’s say if a tweet has tea and coffee both then I will consider only the first term. However, if you want to consider both the terms then hack into my repo stated at the end of this article.
This is how the complete Application class looks like:
package com.technocratsid.elastic;

import static org.elasticsearch.common.xcontent.XContentFactory.jsonBuilder;

import java.io.IOException;
import java.net.InetAddress;
import java.net.UnknownHostException;
import java.util.List;
import java.util.concurrent.BlockingQueue;
import java.util.concurrent.LinkedBlockingQueue;
import java.util.logging.Level;
import java.util.logging.Logger;

import org.elasticsearch.client.transport.TransportClient;
import org.elasticsearch.common.settings.Settings;
import org.elasticsearch.common.transport.TransportAddress;
import org.elasticsearch.transport.client.PreBuiltTransportClient;

import com.google.common.collect.Lists;
import com.twitter.hbc.ClientBuilder;
import com.twitter.hbc.core.Client;
import com.twitter.hbc.core.Constants;
import com.twitter.hbc.core.Hosts;
import com.twitter.hbc.core.HttpHosts;
import com.twitter.hbc.core.endpoint.StatusesFilterEndpoint;
import com.twitter.hbc.core.processor.StringDelimitedProcessor;
import com.twitter.hbc.httpclient.auth.Authentication;
import com.twitter.hbc.httpclient.auth.OAuth1;

public class Application {

	private final static String consumerKey = "xxxxxxxxxxxxxxxxxx";
	private final static String consumerSecret = "xxxxxxxxxxxxxxxxxx";
	private final static String token = "xxxxxxxxxxxxxxxxxx";
	private final static String secret = "xxxxxxxxxxxxxxxxxx";
	private static Logger logger = Logger.getLogger(Application.class.getName());

	public static void main(String[] args) {
		BlockingQueue<String> msgQueue = new LinkedBlockingQueue<String>(1000);
		List<String> terms = Lists.newArrayList("tea", "coffee", "beer");

		// Elasticsearch Transport Client
		TransportClient elasticClient = createElasticTransportClient();

		// Twitter HoseBird Client
		Client client = createTwitterClient(msgQueue, terms);
		client.connect();

		String msg = null;
		int count = 0;

		// Streaming 1000 tweets
		while (!client.isDone() && count != 1000) {
			try {
				msg = msgQueue.take();
				logger.log(Level.INFO, msg);

				// Segregating the tweets
				if (msg.contains(" tea ")) {
					insertIntoElastic(elasticClient, "tea");
				} else if (msg.contains(" coffee ")) {
					insertIntoElastic(elasticClient, "coffee");
				} else {
					insertIntoElastic(elasticClient, "beer");
				}
				count++;
			} catch (InterruptedException ex) {
				logger.log(Level.SEVERE, ex.getMessage());
				client.stop();
			}
		}

		// Closing the clients
		client.stop();
		elasticClient.close();
	}

	public static Client createTwitterClient(BlockingQueue<String> msgQueue, List<String> terms) {
		Hosts hosebirdHosts = new HttpHosts(Constants.STREAM_HOST);
		StatusesFilterEndpoint hosebirdEndpoint = new StatusesFilterEndpoint();
		hosebirdEndpoint.trackTerms(terms); // tweets with the specified terms
		Authentication hosebirdAuth = new OAuth1(consumerKey, consumerSecret, token, secret);
		ClientBuilder builder = new ClientBuilder().name("Twitter-Elastic-Client").hosts(hosebirdHosts)
				.authentication(hosebirdAuth).endpoint(hosebirdEndpoint)
				.processor(new StringDelimitedProcessor(msgQueue));
		Client hosebirdClient = builder.build();
		return hosebirdClient;
	}

	@SuppressWarnings("resource")
	public static TransportClient createElasticTransportClient() {
		TransportClient client = null;
		try {
			client = new PreBuiltTransportClient(Settings.EMPTY)
					.addTransportAddress(new TransportAddress(InetAddress.getByName("localhost"), 9300));
		} catch (UnknownHostException ex) {
			logger.log(Level.SEVERE, ex.getMessage());
		}
		return client;
	}

	public static void insertIntoElastic(TransportClient client, String tweet) {
		try {
			client.prepareIndex("drink-popularity", "_doc")
					.setSource(jsonBuilder().startObject().field("tweet", tweet).endObject()).get();
		} catch (IOException e) {
			e.printStackTrace();
		}
	}

}
8) Configuring Canvas in Kibana:
Make sure your Kibana server is running. Mine is running locally at http://localhost:5601.
8.1) Go to http://localhost:5601.
8.2) Go to Dev Tools and perform the following requests:

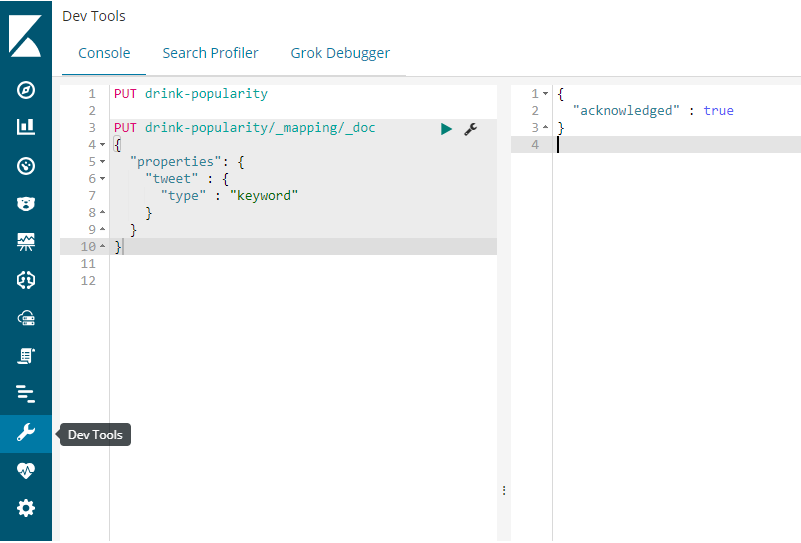
PUT drink-popularityThe above PUT request creates an index drink-popularity.
PUT drink-popularity/_mapping/_doc
{
  "properties": {
    "tweet" : {
      "type" : "keyword"
    }
  }
}
The above request adds a new field tweet to the _doc mapping type.
8.3) Go to Canvas:


8.4) I have already created a Canvas workpad. You just need to download it from here and import it in your own Canvas by clicking on Import workpad JSON file and then selecting the downloaded JSON file.
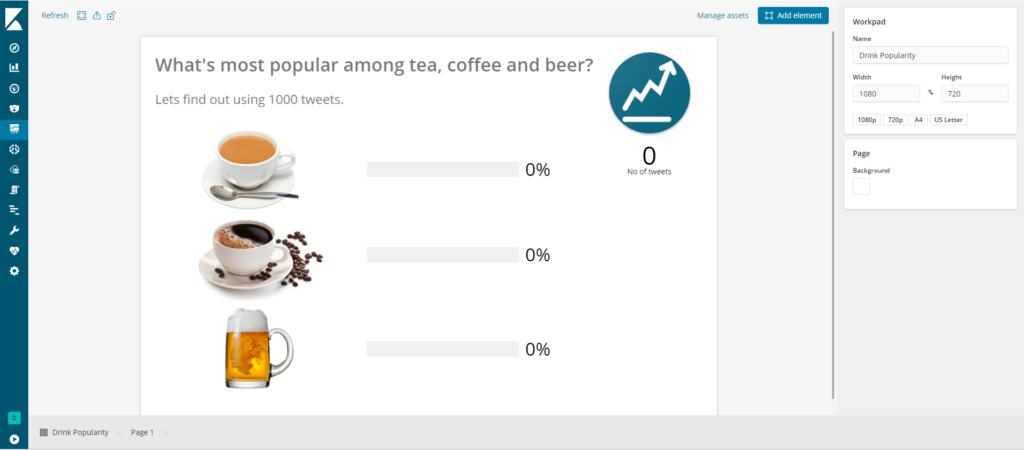
8.5) Once you have imported the workpad, open it by clicking on Drink Popularity workpad from Canvas workpads list.
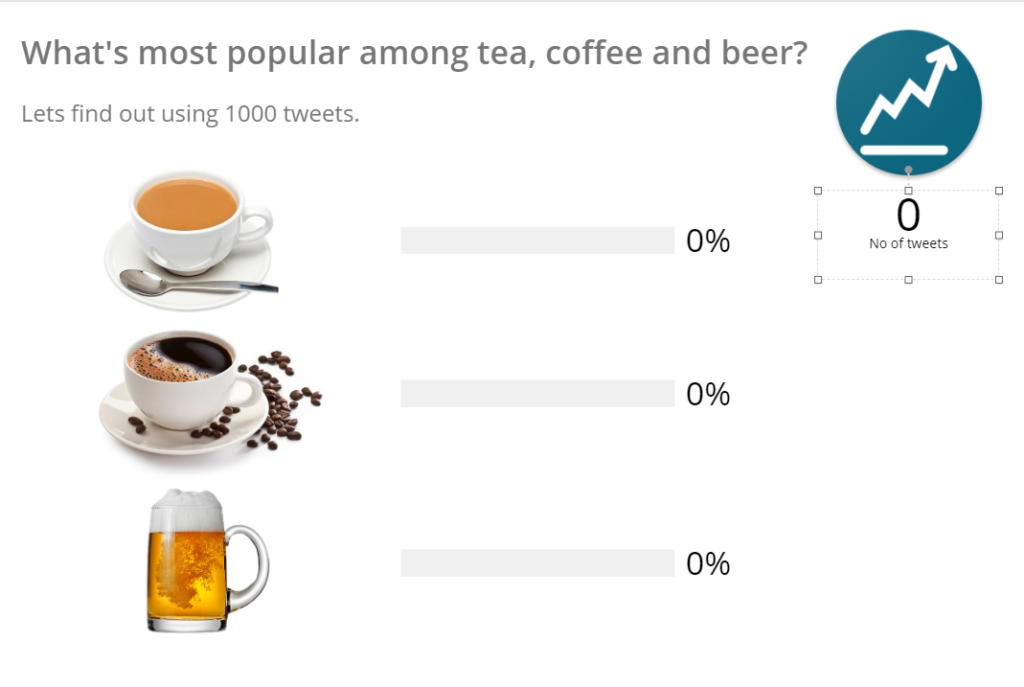
This is what you should see:

Now click on No of tweets metric:

On the side panel of Selected Layer click on Data:

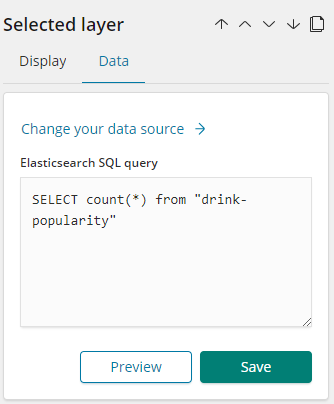
Notice the Elasticsearch SQL query used to fetch total no of tweets. Looks familiar right?
The above Elasticsearch SQL counts the total number of documents in drink-popularity index.
Do the same for one of the Horizontal progress bars:

Notice the Data panel:

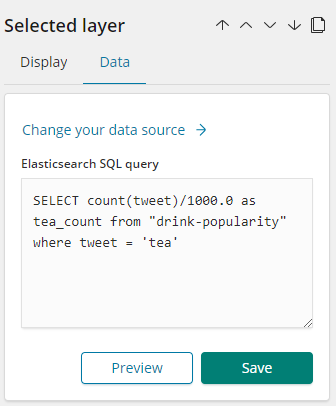
So the above query is counting the no of tweets where tweet = ‘tea’ and dividing it by total no of tweets i.e. 1000.
Same thing has been done for other two progress bars.
9) Run the program to see live results in Canvas:
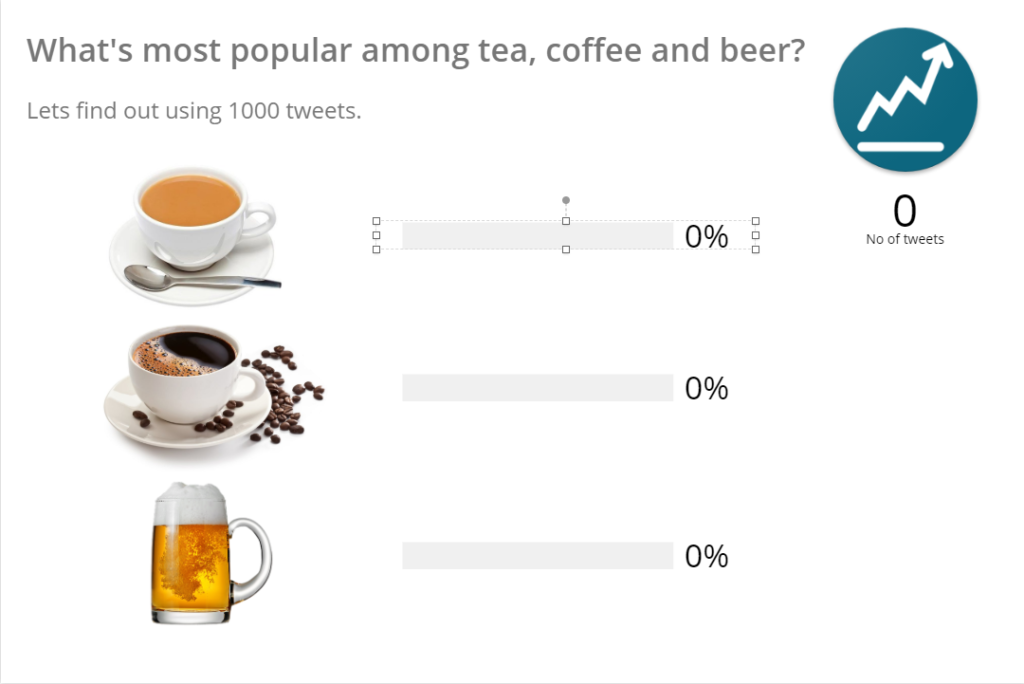
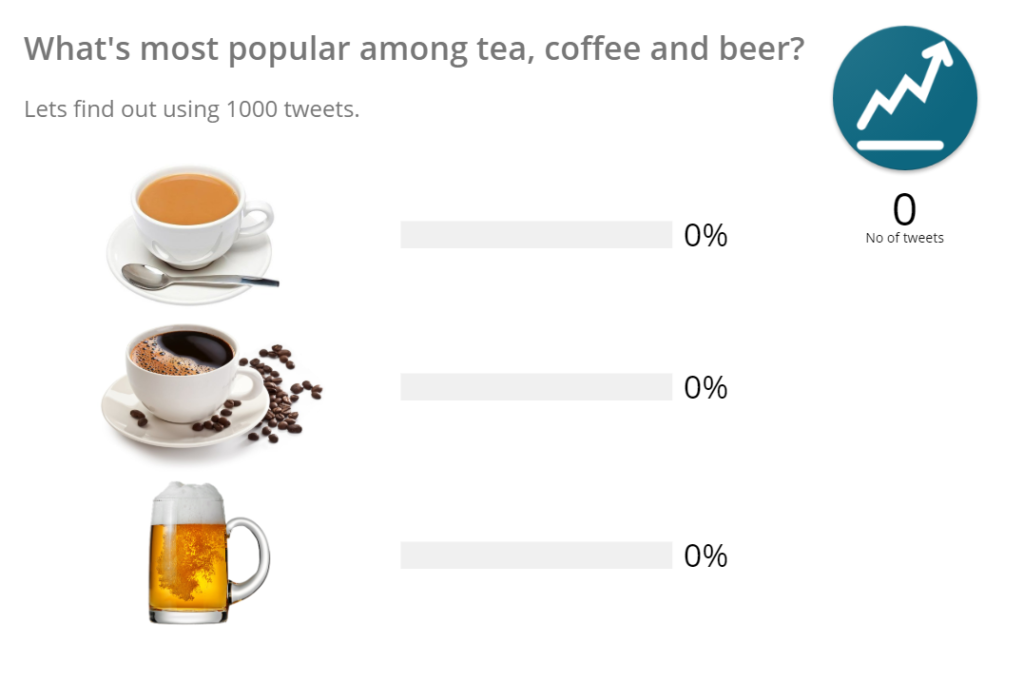
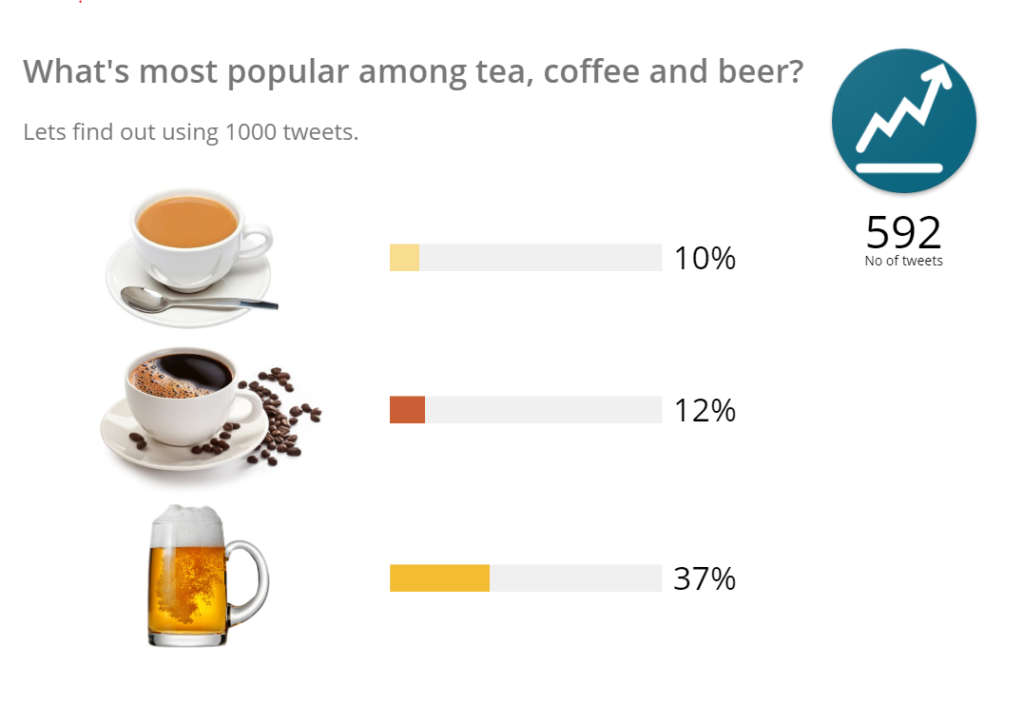
Before running the program the initial Canvas looks like this:

Now run the Application class and enable the auto-refresh in Canvas to see live updates and notice the Canvas.
After sometime:

In the end:

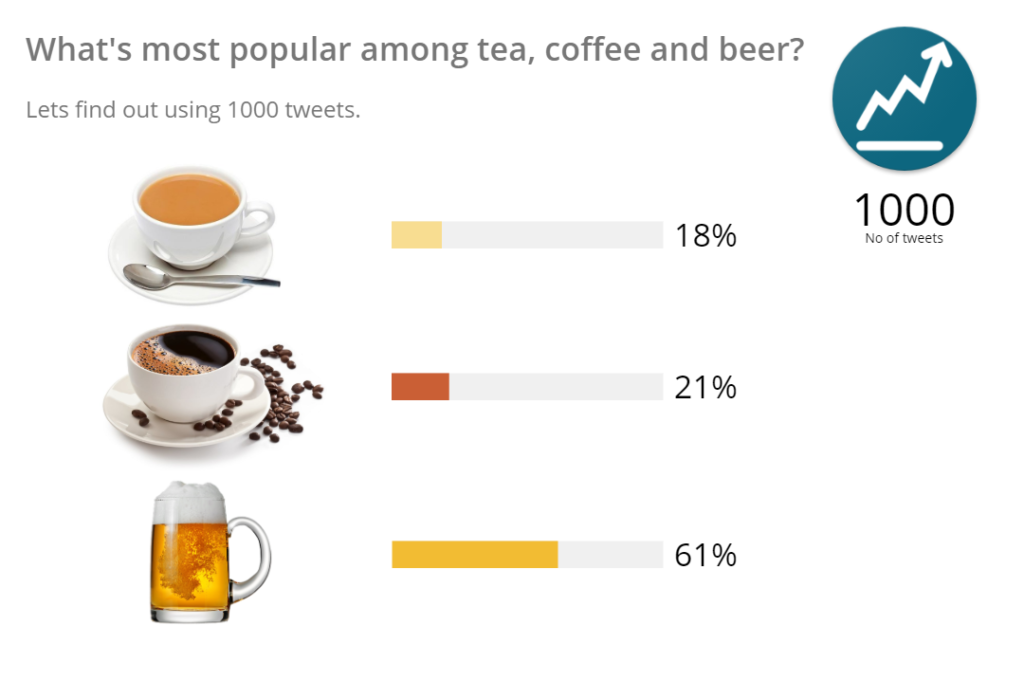
Cheers !!! Beer is the winner 🙂 You can also check the results for a specific location by filtering the tweets based on location.
I hope you guys like the concept.
Feel free to hack into the github repo.